Images you find online will most likely come with all kinds of meta data / tags that you don’t really want on your website. To get rid of them follow these instructions.
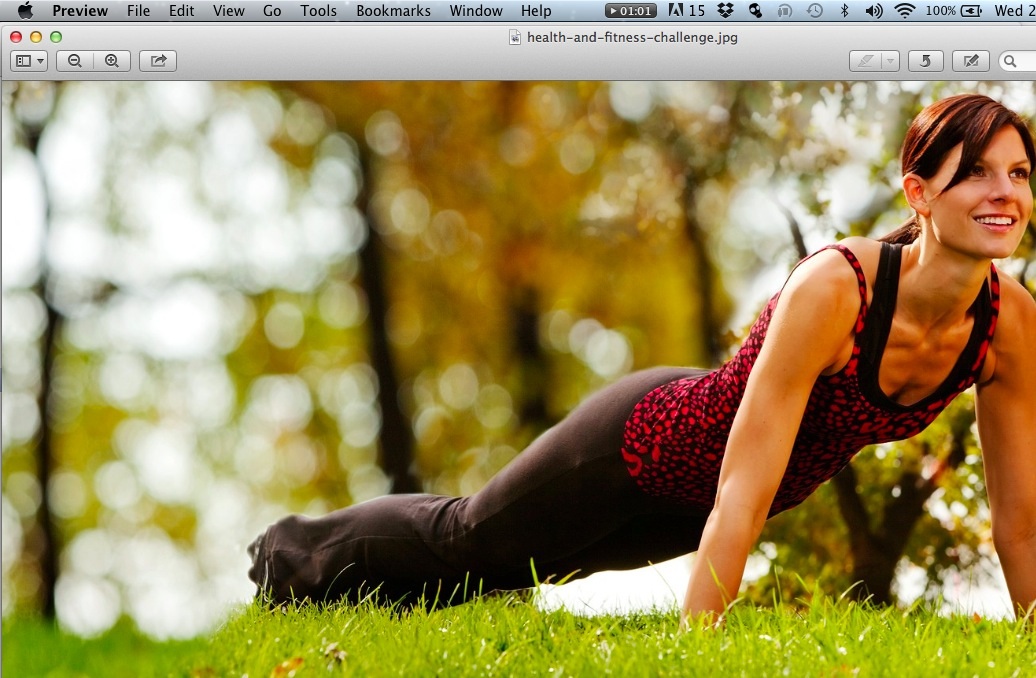
Open the image you want to use. Simply double click it. This should open it in PREVIEW application.
You can always see what application you are in at the top right of your screen. What ever is next to the apple icon is the name of the application you are using.
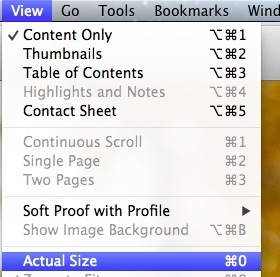
Now you have to set the VIEW mode to ACTUAL SIZE
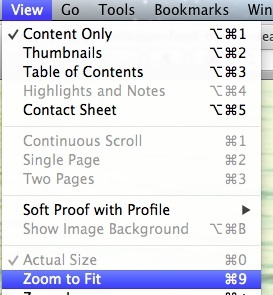
In the event the image you have downloaded is larger than your monitor (meaning your image is partly hidden) select VIEW > ZOOM TO FIT
Once you are viewing the image correctly hold down the SHIFT and COMMAND key and press the number 4 key
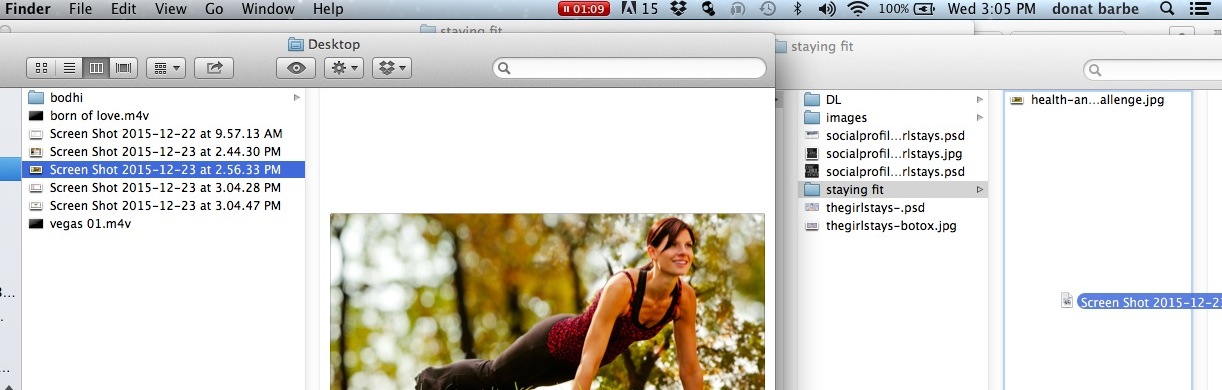
This will let you draw a box to capture the part of the screen you want to save. Draw the box as close to the edge as you want. If you go over no matter just do it again.

NOW you have a new screen grab on your desktop. Move it to the folder you want it be in.
Open it by double clicking it so it opens in PREVIEW.
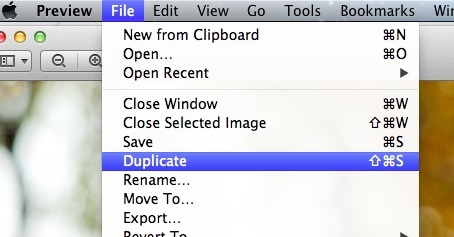
Under FILE go to DUPLICATE .
Now hold the OPTION key to turn the DUPLICATE to SAVE AS.
Rename your file properly.
Your website name plus a description.
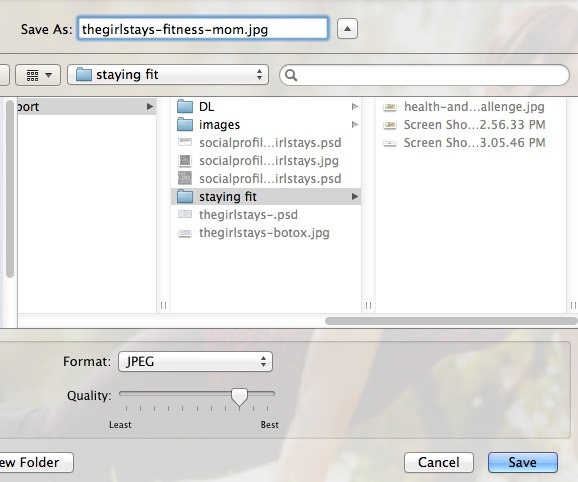
Also make sure you are saving the image as a JPG
if you don’t see the .jpg extension.
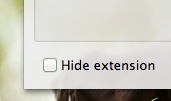
Check to see if perhaps the HIDE EXTENSION box is checked. IF it is then make sure it’s unchecked. Though it will likely by default show the extension.
Save
![]()
You are done you now have the image you want meta data free.
Likely your new image will be the right size (under 1400 pixels) but you can always check by opening this image in PREVIEW and then go to TOOLS > ADJUST SIZE
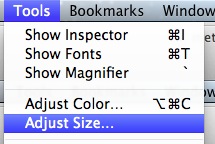
If the size is wider than 1400 pixels follow these instructions to correct it.